
Blogs & News
Sage 200 – Changing List View Columns
8 December 2021

Sage 200 List View columns can be changed to show the data you would most like to see.
How do I do this?
All List Views in Sage 200 can be amended.
In this example, we are changing columns in:
Audit Trail List View – Sage 200 >> Accounting System Manager >> Transaction Audit Trail List
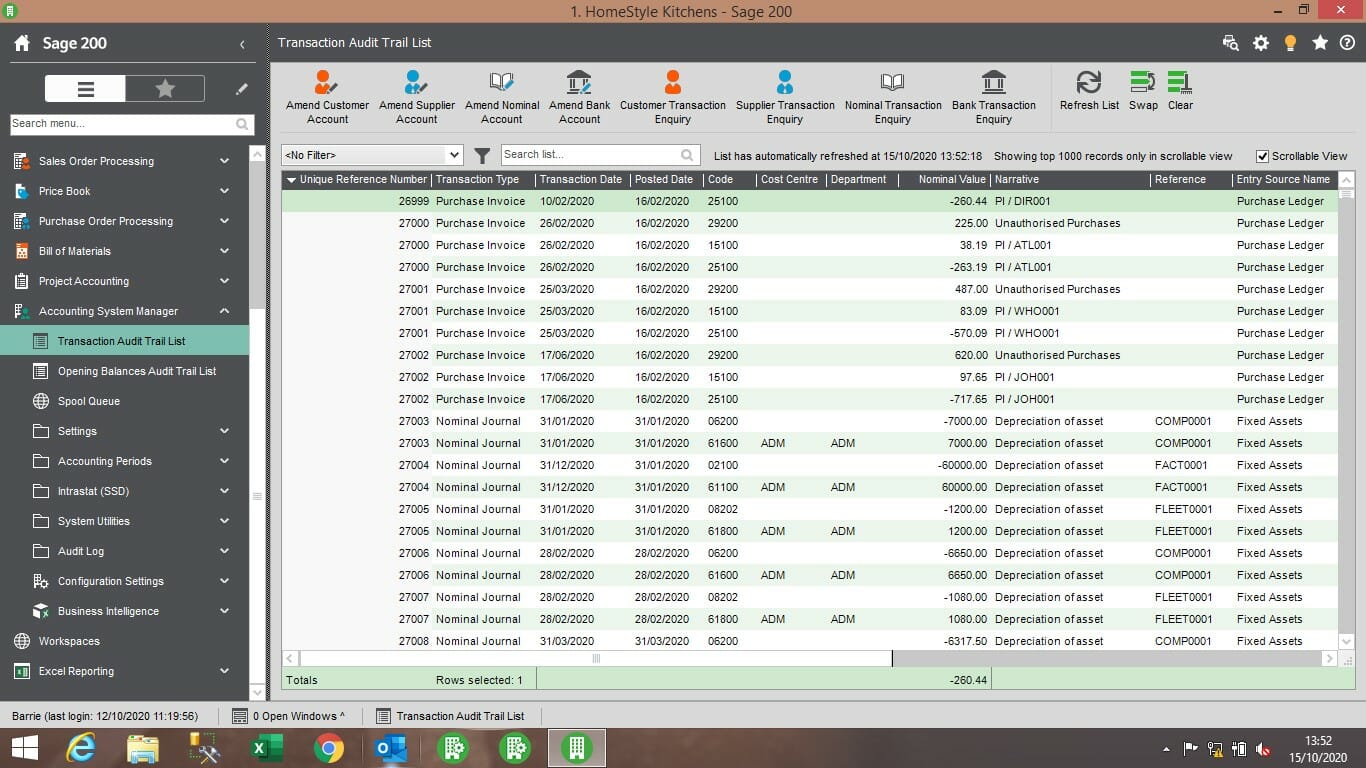
Right-click in the List View and from the pop-up menu highlight Columns, then in the next pop-out menu select or deselect a column to add to or remove it from your List View; repeat this to continue to add or remove columns: This only affects your own List View and nobody else’s.
After all columns needed are selected, the columns can be re-ordered by clicking a column heading, keep the mouse button pressed to ‘grab’ the column, then drag and drop the column to the desired position.
Tip: in the Transaction Audit Trail list view you might like to move the Unique Reference Number column to the left, and by clicking in the heading sort it in descending order, to show the latest transactions at the top of the list.
Note: the Transaction Audit Trail list can show the Posted Date column being the date the transaction was entered into Sage 200; Nominal Ledger >> Current Transactions List is very similar to the Transaction Audit Trail list and might be used instead to see transactions.
Further Information
If you have any questions about this or need assistance, then please contact the GCC Group Support Team on 0345 260 1151 or servicedesk@gccgroup.co.uk